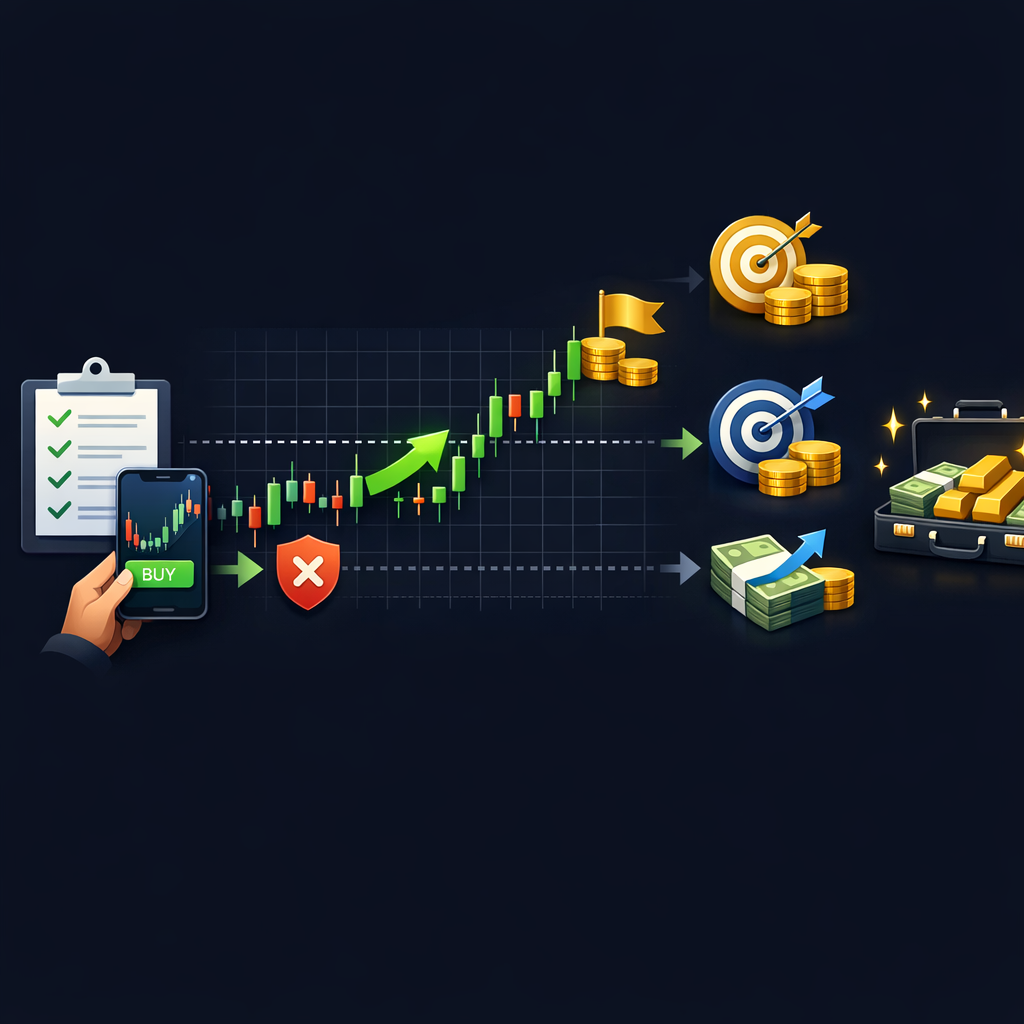
Ever copied a forex signal that “should” have worked… but you still lost?
Most traders blame the signal provider.
Professionals blame execution.
In today’s market, where the Dollar Index (DXY) is hovering around 106.80, EUR/USD is near 1.0520, GBP/USD around 1.2680, and USD/JPY near 149.50, a few seconds of hesitation or a sloppy lot size can turn a high-quality setup into a messy outcome.
This guide is about forex signal execution—how to trade signals like a professional trader: entry timing, position sizing, managing multiple take-profits, trailing stops, and the execution mistakes that quietly drain accounts.
TL;DR: Professional Forex Signal Execution in 60 Seconds
- Execution beats prediction. The same signal can produce different results depending on spread, timing, and discipline.
- Use a fixed risk per trade (typically 0.5%–2%) and calculate lot size from the stop-loss distance, not from “how confident you feel.”
- Respect the entry model. Market entries, limit entries, and breakout stops each require different tactics.
- Manage multi-TP signals professionally: scale out, move SL to breakeven logically, and avoid “BE too early.”
- Trailing stops are a tool, not a religion. Trail based on structure (swings/ATR), not random pip counts.
- Reduce mistakes with a checklist and a routine built around London and New York sessions.
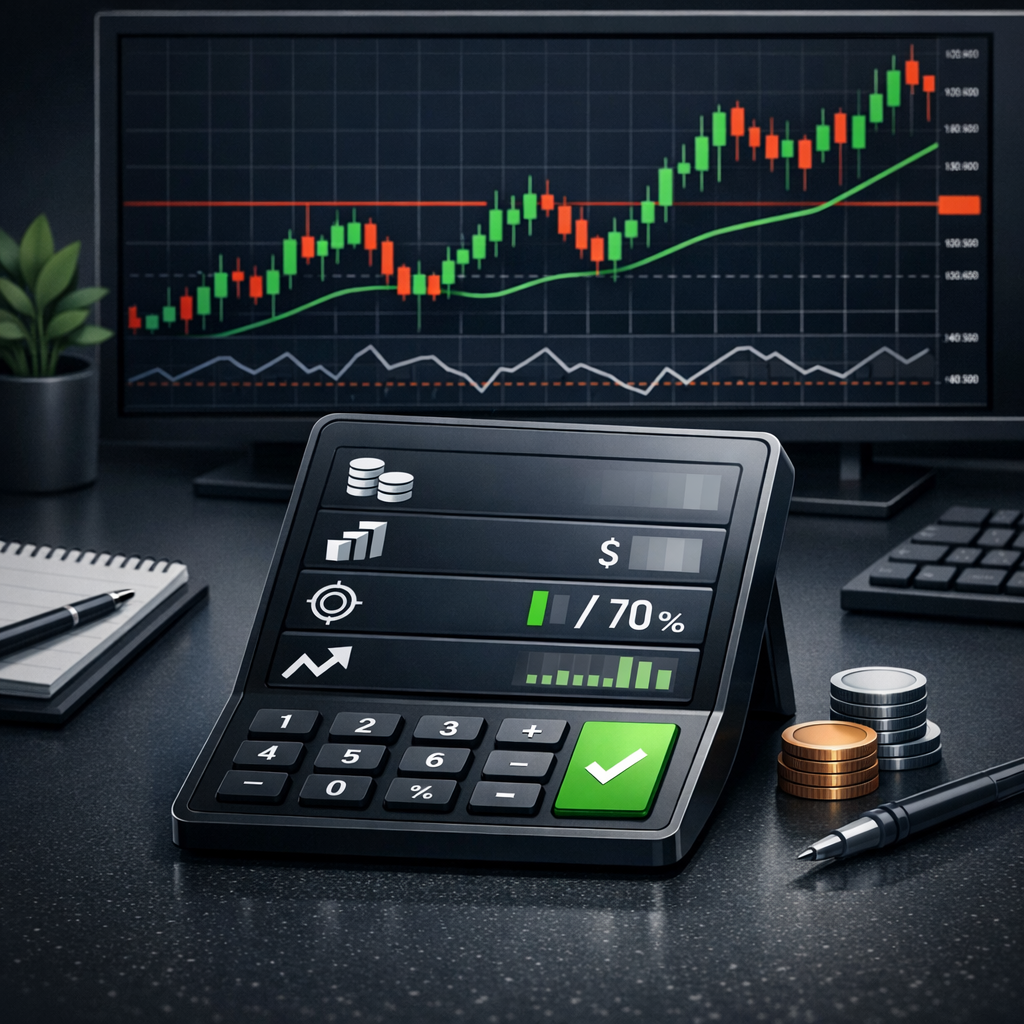
Why Signal Execution Matters More Than the Signal Itself
Two traders can take the same EUR/USD sell signal and get opposite outcomes.
One gets slipped 1.5 pips, enters late, sizes too big, panics at +8 pips, and closes early.
The other enters at the intended price, risks a consistent 1%, scales out at TP1, and lets the rest run.
Same signal. Different execution. Different equity curve.
Execution is the bridge between a good idea and a profitable trade.
That bridge is built from details: spread, order type, latency, session volatility, and whether you follow the plan when price spikes against you for 10–15 pips.
Right now, volatility is “selectively hot.”
USD/JPY around 149.50 can move quickly on U.S. yields headlines, while EUR/USD near 1.0520 can grind and then snap 20–40 pips on unexpected data revisions.
Gold (XAU/USD) is also trading near $2650 with a mild +0.35% daily change, meaning it can look calm—until it isn’t.
That’s why execution rules matter even more when you’re trading signals across multiple instruments.
Signals are “instructions,” not “outcomes”
A signal typically gives you: Entry, Stop Loss (SL), and Take Profit (TP) levels.
What it doesn’t give you is your broker’s spread at that second, your platform’s fill quality, or your emotional state.
Professionals treat signals as a trade plan template.
Then they execute that plan with strict process.
Where most traders leak money
- Late entries (chasing a move after the best price is gone).
- Wrong lot size (risking 4% without realizing it).
- Moving SL because “it will come back.”
- Closing early because +10 pips feels like “enough.”
- Overlapping exposure (taking EUR/USD and GBP/USD in the same USD theme without realizing correlation risk).
If you want a structured approach to signals, start by understanding how professional providers format them and what to look for.
You can also explore our broader ecosystem at United Kings premium signals, where we publish clear Entry/SL/TP levels designed for real execution during London and NY sessions.
Signal Types and the Right Execution Style (Market, Limit, Stop)
“How to trade signals” starts with one question: What type of entry is this?
If you execute a limit-entry signal like a market-entry signal, you often donate pips to the market.
If you execute a breakout stop-entry signal too early, you get wicked out.
Let’s map the main types and the correct execution behavior.
Market execution signals (enter now)
A market-entry signal is designed for immediate participation.
Example format:
- EUR/USD Sell @ 1.0520
- SL 1.0550 (30 pips)
- TP1 1.0480 (40 pips)
- TP2 1.0460 (60 pips)
Professional execution rule: enter within the allowed deviation.
If your fill is 1.0526 and the provider’s entry is 1.0520, you changed the risk and reward profile.
So you need a tolerance policy.
Limit execution signals (buy/sell at a better price)
A limit signal expects price to retrace to a level.
Example:
- GBP/USD Buy Limit @ 1.2650
- SL 1.2625 (25 pips)
- TP 1.2725 (75 pips)
Professional execution rule: don’t “improve” the signal by entering early.
If you buy at 1.2680 because you’re afraid of missing, you’re no longer trading the plan.
You’re trading your anxiety.
Stop execution signals (breakout confirmation)
A stop-entry signal triggers when price breaks a level.
Example:
- USD/JPY Buy Stop @ 149.80
- SL 149.40 (40 pips)
- TP 150.60 (80 pips)
Professional execution rule: place the pending order and let it trigger.
Don’t jump in at 149.55 “because it’s close.”
Breakout logic often requires the break itself to reduce false signals.
Comparison table: Which execution method fits which signal?
| Signal Entry Type | Best Order Type | Best For | Common Mistake | Pro Fix |
|---|---|---|---|---|
| Market (Enter Now) | Market / Instant execution | Momentum moves, news continuation | Entering late after a 10–20 pip spike | Use a max deviation rule (e.g., 3–7 pips majors) |
| Limit (Retracement) | Buy Limit / Sell Limit | Pullbacks to support/resistance | Entering early due to FOMO | Set pending orders and walk away |
| Stop (Breakout) | Buy Stop / Sell Stop | Range breaks, structure shifts | Front-running before confirmation | Let the trigger confirm; reduce position size if needed |
| Zone Entry (Range) | Limit with range or partial fills | Supply/demand zones | Using one tight entry then getting missed | Split orders across the zone (2–3 limits) |
If you’re new to Telegram-based signals, you’ll benefit from a structured onboarding.
Use this beginner-friendly guide: forex signals Telegram for beginners.
Pre-Trade Checklist: The 90 Seconds That Save You 90 Days
Professional traders don’t “wing it.”
They run a checklist—especially when executing forex trading signals from Telegram, where speed and clarity matter.
Your goal is to reduce errors, not to prove you’re smart.
Here’s a pre-trade checklist you can run in under 90 seconds.
Step-by-step: The execution checklist
- 1) Confirm instrument and quote format. EUR/USD vs EURUSD. XAU/USD vs GOLD. Avoid symbol confusion.
- 2) Check spread right now. If EUR/USD spread is 0.8 pip during London, great. If it’s 2.5 pips during rollover, wait.
- 3) Identify the session. London and NY are typically best for execution. Asia can be cleaner for ranges but thinner for breakouts.
- 4) Mark the levels. Draw entry, SL, TP1/TP2/TP3 on the chart. Visual clarity reduces mistakes.
- 5) Check nearby high-impact news. CPI, NFP, central bank speeches can invalidate normal stop sizes.
- 6) Calculate position size from SL distance. Do not guess. Do not “round up.”
- 7) Choose order type. Market vs limit vs stop. Place pending orders when appropriate.
- 8) Confirm correlation exposure. If you’re already long GBP/USD, adding long EUR/USD is often doubling USD short risk.
- 9) Set alerts. If you can’t watch, alerts prevent emotional hovering.
- 10) Execute and log. Screenshot entry + write the reason and risk.
Real scenario: How a checklist prevents a bad fill
Let’s say you receive a USD/JPY sell signal near 149.50.
You’re about to hit market sell, but your checklist shows it’s 4:58pm New York—rollover time.
Spread widens, execution worsens, and a “normal” 1.2 pip spread can become 4–8 pips for a moment.
You wait 10 minutes, spread normalizes, and you enter closer to the intended price.
That small discipline can be the difference between a clean -1R stop and a frustrating slip-out.
Build your checklist around the provider’s standards
At United Kings, our signal format is designed to be executed quickly: clear Entry, SL, and multiple TPs.
We also focus heavily on London and NY session timing for liquidity and tighter spreads.
If you want a full vetting framework for any provider you follow, use our guide: forex signals provider checklist.
Entry Timing: When to Enter a Forex Signal (and When to Wait)
Most execution mistakes happen at the entry.
Traders either enter too late (chasing) or too early (anticipating).
Professionals use entry rules that match the signal’s intent.
Rule #1: Use an “acceptable entry window”
For major pairs like EUR/USD and GBP/USD, a practical window might be:
- Market signals: enter within 3–7 pips of the stated entry (depending on volatility and spread).
- Limit signals: enter only at the limit price (or within 1–2 pips if you must).
- Stop signals: don’t manually enter early; let it trigger.
Why does this matter?
Because your stop distance is fixed, but your entry is not.
A late entry increases your risk or reduces your reward.
Rule #2: Don’t enter into the “first spike”
During NY open, EUR/USD can spike 10–15 pips, then retrace.
If you enter at the top of the spike, you’re buying liquidity for someone else.
A professional approach is to wait for:
- a 1–3 minute candle close,
- a retest of the broken level, or
- spread normalization after a burst of volatility.
Rule #3: Align entry with structure (micro + macro)
If EUR/USD is in a broader downtrend and your signal is a sell, you want entry near a lower-high zone.
If you enter in the middle of a range, you’re accepting worse odds.
Even if you’re “just following signals,” you should still glance at:
- H1/H4 trend direction
- nearest support/resistance within 20–50 pips
- session high/low (London high often matters)
Example: EUR/USD sell execution near 1.0520
Assume a signal says: sell 1.0520, SL 1.0550, TP 1.0460.
If price is already at 1.0508 when you see it, you have choices.
A professional doesn’t panic-sell at 1.0508 if the plan was to sell at resistance.
They either:
- place a sell limit near 1.0520 (if the move is likely to retest), or
- skip the trade if the R:R is now damaged.
Skipping is a skill.
It’s also a form of risk management.
Position Sizing Like a Pro: Lot Size, Risk %, and Pip Value
If execution is the bridge, position sizing is the foundation.
You can have an 85% win rate and still blow up if you size randomly.
Professional signal execution means you size every trade from a consistent risk model.
The only sizing formula you need
Position size = (Account Risk) ÷ (Stop Loss in pips × Pip Value)
Where:
- Account Risk = account balance × your risk % (e.g., 1%)
- Stop Loss in pips = distance from entry to SL
- Pip Value depends on pair and lot size (your platform can calculate)
Example: EUR/USD trade sizing
Account: $5,000.
Risk per trade: 1% = $50.
Signal: EUR/USD sell 1.0520, SL 1.0550 (30 pips).
For EUR/USD, 1.00 lot ≈ $10/pip (standard lot) on USD accounts.
Risk per 1.00 lot with 30 pips SL = 30 × $10 = $300.
You only want $50 risk.
So lot size ≈ $50 ÷ $300 = 0.17 lots (rounded down to 0.16 or 0.17 depending on broker).
That’s professional sizing: boring, consistent, survivable.
Example: GBP/USD trade sizing
Account: $10,000.
Risk: 0.75% = $75.
Signal: GBP/USD buy 1.2680, SL 1.2645 (35 pips).
Approx pip value per 1.00 lot ≈ $10/pip.
Risk per 1.00 lot = 35 × $10 = $350.
Lot size = $75 ÷ $350 = 0.21 lots.
JPY pairs: remember the pip is different
USD/JPY pip is typically the second decimal (0.01), not the fourth.
Platforms handle this, but traders still misread stops.
Signal: USD/JPY buy 149.80, SL 149.40 = 40 pips (0.40).
If you accidentally think it’s 4 pips, you’ll oversize massively.
Risk stacking: the hidden killer when following signals
Many signal followers take multiple trades at once.
That’s fine—until they unknowingly stack correlated risk.
Example:
- Long GBP/USD (USD weakness bet)
- Long EUR/USD (USD weakness bet)
- Short DXY (USD weakness bet, indirectly)
That’s basically one theme with 3x exposure.
A professional caps total theme risk (e.g., max 2% across correlated trades).
For deeper sizing frameworks, see our dedicated guide: risk management strategies when using forex signals.
Managing Multiple Take Profits (TP1/TP2/TP3) Without Sabotaging the Trade
Multi-TP signals are powerful.
They can also become a mess if you don’t have rules.
Professionals manage multi-TPs with predefined scaling and logical stop adjustments.
Why multi-TP exists in the first place
Markets don’t move in straight lines.
EUR/USD might drop 25 pips, retrace 15 pips, then continue 60 pips.
TP1 pays you for being right early.
TP2 and TP3 pay you for being patient.
A professional scaling model (simple and effective)
Here are three common models.
- 50/30/20 model: close 50% at TP1, 30% at TP2, 20% at TP3.
- 33/33/34 model: equal scaling for consistency.
- 70/30 model: close 70% at TP1, let 30% run for big wins.
The “best” model depends on your psychology.
If you panic easily, a heavier TP1 helps you stay in the trade.
When to move stop loss to breakeven (BE)
Moving SL to BE is not automatically smart.
It’s only smart when the market has proven your premise.
Professional BE triggers include:
- After TP1 is hit and price closes beyond a key level.
- After a structure break (e.g., lower low for sells).
- After price moves 1R in your favor (distance equal to your SL).
Common mistake: moving to BE after +5 to +10 pips.
That’s how you get “death by a thousand BE stops.”
Example: Multi-TP execution on GBP/USD
Signal idea:
- Buy GBP/USD 1.2680
- SL 1.2650 (30 pips risk)
- TP1 1.2720 (+40 pips)
- TP2 1.2740 (+60 pips)
- TP3 1.2770 (+90 pips)
Professional management:
- At TP1: close 50%, move SL to entry only if price holds above 1.2705–1.2710 support.
- At TP2: close 30%, trail SL under the last H1 swing low.
- At TP3: close remainder or trail until structure breaks.
This approach protects you while still allowing the trade to breathe.
Trailing Stops Done Right: Structure, ATR, and Session Logic
Trailing stops are where many signal followers either level up—or self-sabotage.
A trailing stop should not be a random “trail by 15 pips” rule.
It should be tied to market structure and volatility.
Method 1: Structure-based trailing (professional default)
This is the cleanest method.
You trail your stop behind swing highs/lows on a chosen timeframe.
- For intraday signals: use M15 or H1 swings.
- For swing signals: use H4 or daily swings.
Example: EUR/USD sell from 1.0520.
Price drops to 1.0480 (TP1), then retraces to 1.0495, then drops again.
A structure trail would move SL from 1.0550 to above the retracement swing high (e.g., 1.0502).
Now you’ve locked profit while leaving room for continuation.
Method 2: ATR-based trailing (volatility-aware)
ATR (Average True Range) helps you avoid trailing too tight in volatile conditions.
If EUR/USD M15 ATR is 6 pips, trailing by 5 pips is basically begging to get stopped.
A practical rule:
- Trail at 1.5× to 2.5× ATR behind price, depending on timeframe.
This is especially useful around NY session bursts.
Method 3: Session-based trailing (London vs NY behavior)
London often sets the day’s direction.
NY often extends or reverses it.
A professional trick:
- If you’re in profit going into NY open, tighten slightly or take partials.
- If you’re in profit going into rollover, consider reducing exposure due to spread spikes.
Gold note (because many forex traders also follow XAUUSD signals)
Even though this is a forex-focused guide, many traders execute both.
Gold near $2650 can move $8–$15 quickly on headlines.
If a gold signal buys at $2642 with SL at $2627 (15 dollars), a random $5 trail will stop you out constantly.
Structure and ATR trailing matter even more on XAU/USD.
If you trade both, bookmark our gold section at United Kings gold signals for instrument-specific execution style.
Handling Slippage, Spread, and Latency (The Real-World Execution Costs)
In theory, you enter exactly at the signal price.
In real life, you deal with spreads, slippage, and sometimes delayed Telegram delivery.
Professionals plan for these frictions instead of being surprised by them.
Spread: the “invisible fee” that changes your math
Spread is the difference between bid and ask.
On majors during liquid hours, it can be low.
During rollover, news, or low liquidity, it can widen sharply.
Execution rule:
- If spread is unusually wide, either reduce size, wait, or skip.
A 2-pip spread on a 15-pip stop is a big tax.
A 2-pip spread on a 60-pip stop is manageable.
Slippage: why pending orders can protect you
Slippage happens when your market order fills at a worse price than expected.
It’s common during fast moves.
Pending orders help because:
- Limit orders cap the worst price (you may miss the trade, but you won’t get a bad fill).
- Stop orders confirm the break (but can still slip in very fast markets).
Latency: the underrated execution factor
Latency is delay—between the signal being posted, you seeing it, and your order being filled.
Even 20–60 seconds can matter on a fast breakout.
How professionals reduce latency impact:
- Use a broker with fast execution and stable spreads.
- Keep platform logged in and charts ready.
- Pre-set lot size rules so you don’t calculate under pressure.
If you want to go deeper on this topic, we’ve covered the mechanics and why it matters for fills and performance.
See: United Kings blog for related execution and trading process content.
Practical “max deviation” rules you can adopt today
- EUR/USD, GBP/USD: 3–7 pips acceptable on market entries (depending on volatility).
- USD/JPY: 3–8 pips (JPY moves can be sharp around yields headlines).
- XAU/USD: $0.50–$2.00 typical tolerance depending on time of day and volatility.
If the deviation is larger, you either wait for a pullback or skip.
That one rule alone improves long-term expectancy.
Executing Forex Signals Step-by-Step (Exact Workflow Pros Use)
Let’s turn everything into a repeatable workflow.
This is the “how to trade signals” process you can apply whether you trade manually or semi-automate parts of it.
Step 1: Read the signal like a contract
Before you touch the order button, confirm:
- Pair (EUR/USD, GBP/USD, USD/JPY)
- Direction (buy/sell)
- Entry type (market/limit/stop)
- SL distance (pips)
- TP plan (single TP or TP1/TP2/TP3)
If anything is unclear, don’t guess.
Guessing is expensive.
Step 2: Translate the signal into your platform correctly
Common platform mistakes include:
- Entering SL/TP on the wrong side (buy with SL above entry).
- Confusing pips with points (especially on 5-digit brokers).
- Placing a limit instead of a stop (or vice versa).
Professionals slow down for 10 seconds to confirm order parameters.
Step 3: Calculate lot size and place the order
Decide your risk per trade (e.g., 1%).
Calculate lot size from SL distance.
Then place the order with SL and TP attached immediately.
Attaching SL is not optional.
Step 4: Manage the trade with “if-then” rules
Write simple rules like:
- If TP1 hits, then close 50% and move SL to BE only after a candle close confirms.
- If price returns to entry after +0.8R, then do nothing (avoid BE too early).
- If major news is 10 minutes away and I’m not at TP1, then reduce risk or tighten exposure.
Trading becomes easier when decisions are pre-made.
Step 5: Log the trade in 30 seconds
Log:
- Signal ID/time
- Entry, SL, TP
- Lot size and risk %
- Result in R (e.g., +1.6R)
- Execution notes (late entry? spread wide?)
After 20–30 trades, you’ll see patterns.
That’s how you improve execution scientifically.
Common Execution Mistakes (and the Professional Fix for Each)
Most traders don’t fail because they lack signals.
They fail because they repeat the same execution errors until the account can’t take it anymore.
Let’s address the big ones.
Mistake #1: Chasing entries after the move
You see EUR/USD already 18 pips away from the entry.
You enter anyway because you don’t want to miss.
Professional fix:
- Use a max deviation rule.
- If missed, wait for retest or skip.
Mistake #2: “Tightening the stop” to increase lot size
This is a silent account killer.
You take a signal with a 35-pip SL and decide to use 15 pips instead.
You get stopped by normal noise.
Professional fix:
- Respect the SL, or skip the trade.
- If you must reduce risk, reduce lot size, not stop distance.
Mistake #3: Moving SL further away
This turns a planned loss into an unplanned disaster.
Professional fix:
- SL is fixed at entry.
- The only allowed SL move is toward profit protection (BE/trailing), not away.
Mistake #4: Taking too many signals at once
Three trades can look like diversification.
But if they’re all USD-themed, it’s concentration.
Professional fix:
- Cap total open risk (e.g., 2%–4%).
- Cap correlated theme risk (e.g., 1.5% across EUR/USD + GBP/USD).
Mistake #5: Closing winners too early
Many traders cut winners at +10 pips and let losers hit full SL.
That flips expectancy negative.
Professional fix:
- Use TP1 to pay you early, then let TP2/TP3 work.
- Measure performance in R, not in “pips bragged.”
Mistake #6: Trading during bad liquidity windows
Rollover spreads, random late-Friday liquidity, and pre-news chop can wreck execution.
Professional fix:
- Prioritize London and NY sessions.
- Be selective around high-impact news.
Advanced Execution: Partial Entries, Re-Entries, and Hedging (Use Carefully)
Once you can execute basic signals consistently, you can add advanced tools.
These are optional.
They’re also where many traders overcomplicate and lose discipline.
Partial entries: reduce regret and improve average price
Instead of one entry, you split into two parts.
Example on EUR/USD sell idea near 1.0520:
- Sell 50% at 1.0518 (market if conditions match)
- Sell 50% at 1.0525 (limit at better price)
This helps if price retests but you still want some exposure.
Risk rule: total combined risk still equals your planned 1% (not 2%).
Re-entries: when a stopped trade becomes valid again
Sometimes you get stopped and the market later returns to the level and moves as expected.
Professionals allow re-entry only if:
- the original thesis still holds,
- structure confirms again,
- you are not revenge trading.
Re-entry is a new trade, not an emotional continuation.
Hedging: why most retail traders misuse it
Hedging often becomes “locking in confusion.”
Traders hedge a losing position instead of accepting the planned SL.
They end up with two positions and no plan.
Professional view:
- If your broker allows hedging, use it only with a clear exit plan and defined risk.
- In most cases, sticking to the SL is cleaner and more professional.
Gold example for advanced management (within current market context)
Assume XAU/USD is trading around $2650.
A signal might be:
- Buy gold 2648
- SL 2633 (15 dollars)
- TP1 2668 (20 dollars)
- TP2 2678 (30 dollars)
A professional might scale in with two limits (2648 and 2643) while keeping total risk constant.
This is advanced, but it shows how execution can improve average entry without increasing risk.
Trading Psychology for Signal Followers: Discipline, FOMO, and “Signal Addiction”
Execution is not only technical.
It’s behavioral.
Many traders follow forex trading signals because they want clarity, but then they sabotage that clarity with emotional overrides.
FOMO is an execution problem disguised as motivation
FOMO makes you:
- enter late,
- increase lot size,
- skip the checklist,
- take trades outside your session plan.
Professional fix: define a rule that missed trades are automatically invalid beyond your max deviation.
This removes the decision.
Revenge trading after a stopped signal
A clean -1R loss is normal.
Two impulsive trades after it is how accounts die.
Professional fix:
- After any loss, take a 5–10 minute “reset.”
- Review whether the loss was execution or market.
- Only take the next signal if it fits your plan and risk cap.
Signal addiction: the trap of overtrading
Some traders feel they must take every signal.
Professionals don’t.
They filter by:
- session quality,
- news proximity,
- spread conditions,
- current open exposure.
It’s better to take 8 high-quality, well-executed trades per month than 40 rushed ones.
Build confidence through a demo phase
If you’re new, execute signals on demo for 2–4 weeks.
Your goal is not profit.
Your goal is flawless execution: correct order type, correct lot size, correct SL/TP placement.
Once execution is consistent, then you scale to small live risk.
Putting It All Together: Your Professional Signal Execution Plan
Let’s convert this article into a practical plan you can follow starting today.
This is designed for traders who want a clean routine around London and NY sessions.
Step-by-step: The 7-part execution plan
- 1) Choose your risk per trade: 0.5%–1% if you’re newer, 1%–2% if experienced and consistent.
- 2) Set your daily risk cap: e.g., stop for the day at -2R or after 2 consecutive losses.
- 3) Define entry deviation rules: majors 3–7 pips, JPY pairs 3–8 pips (adjust for volatility).
- 4) Use a scaling model: 50/30/20 or 70/30, and stick to it for 30 trades.
- 5) Use structure-based trailing: trail behind H1 swings after TP1/TP2, not randomly.
- 6) Control correlation: cap theme exposure (USD weakness/strength) to avoid accidental over-risk.
- 7) Track results in R: focus on execution quality, not only win rate.
What “professional” looks like in numbers
A professional doesn’t need to win every trade.
They need a positive expectancy.
Example expectancy model:
- Win rate: 55%
- Average win: +1.6R
- Average loss: -1R
Over 100 trades:
- 55 wins × 1.6R = 88R
- 45 losses × 1R = 45R
- Net = +43R
This is why execution matters.
Late entries and early exits reduce average win and destroy this math.
Where United Kings fits into your execution plan
Signals work best when they’re clear, consistent, and designed for real market conditions.
At United Kings, we focus on:
- Premium Telegram signals with clear Entry, SL, and TP levels
- Execution-friendly setups during London and NY sessions
- Educational guidance so you improve, not just copy
- A community of 300K+ active traders
If you trade multiple markets, you can also explore our dedicated channels for forex signals and even crypto signals depending on your portfolio focus.
FAQ: Forex Signal Execution Questions Traders Ask Most
1) What is the best way to execute forex trading signals: market or pending orders?
It depends on the signal type.
Market orders fit “enter now” momentum signals, while limit orders fit retracement entries.
Stop orders fit breakout confirmation signals.
2) How many pips late is “too late” to enter a signal?
For majors like EUR/USD and GBP/USD, many pros use a 3–7 pip maximum deviation rule in normal conditions.
If volatility is high, the acceptable window may expand slightly, but your R:R must still make sense.
3) Should I move my stop loss to breakeven after TP1?
Often yes, but not automatically.
Move to BE only when price action confirms your thesis (e.g., a candle close beyond a key level or a structure break).
4) Can I take multiple signals at the same time?
Yes, if total risk is controlled and correlation is considered.
Taking EUR/USD and GBP/USD in the same direction often increases USD exposure more than traders realize.
5) I followed the signal exactly and still lost—what happened?
Losses are part of trading, even with high-quality signals.
Also check execution factors: spread, slippage, late entry, wrong lot size, or trading during news/rollover.
Risk Disclaimer: Forex and gold trading involves significant risk and may not be suitable for all investors. You can lose more than your initial deposit in some leveraged products. Past performance does not guarantee future results. Nothing in this article is financial advice. Always use stop losses, manage risk, and consider practicing on a demo account before trading live.
Ready to Execute Signals the Right Way? Join United Kings
If you want to stop guessing and start executing with a professional framework, we built United Kings for exactly that.
We provide premium Telegram forex and gold signals with clear Entry, SL, and TP levels, plus educational guidance so you understand the “why” behind the trade.
You can start here: UnitedKings.net and explore our full signals service.
For direct access to the community and real-time updates, join our Telegram: United Kings official Telegram channel.
We offer 3 plans at United Kings pricing:
- Starter (3 Months): $299 (~$100/mo)
- Best Value (1 Year): $599 ($50/mo) with 50% savings + FREE ebook
- Unlimited (Lifetime): $999 pay once, access forever
All plans come with a 48-hour money-back guarantee so you can evaluate the service with confidence.
Your next step: pick your plan, join the channel, and execute your next 20 signals with the checklist and sizing rules from this guide.
That’s how professionals are built.